
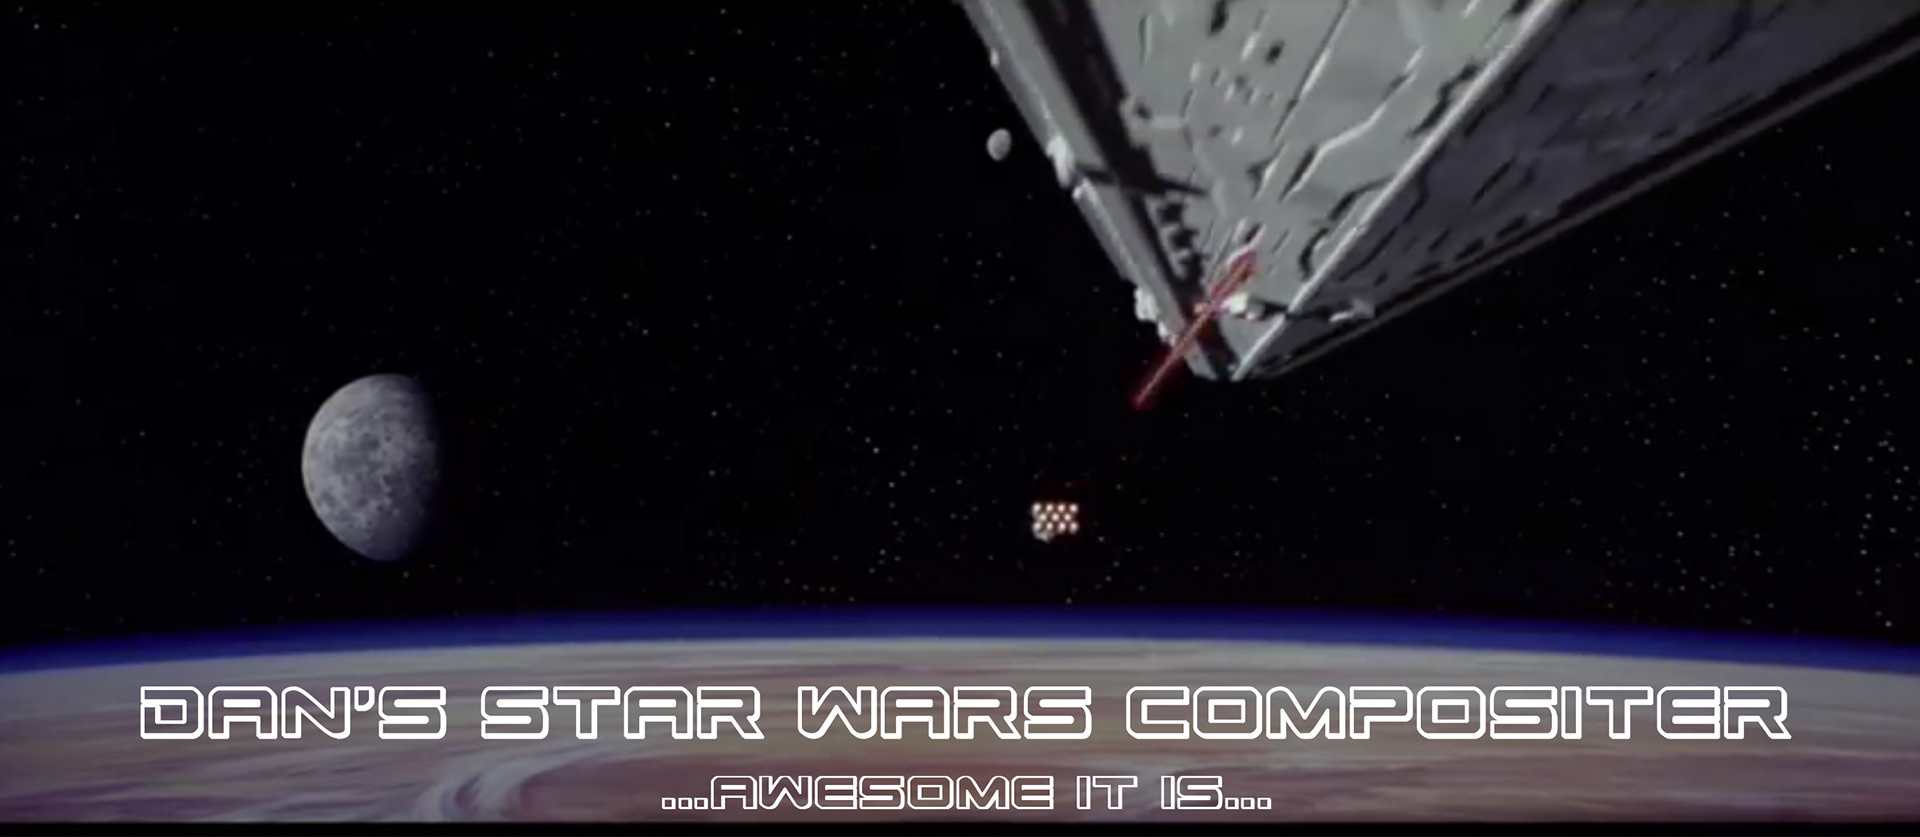
My goal for my final project was to manufacture an image compositor that would be able to recreate the opening scene from Star Wars Episode 4 - A New Hope. The idea was to display the composited animation for the viewer, and I also wanted to provide the option to write each image out as a file so that the animation could be viewed again later.
The program begins with an opening screen featuring a screenshot like the one above from the original film, and directs the user to the terminal where they have the option to either utilize pre-loaded images that will mimic the original scene, or they can chose to load in their own files to produce a unique sequence. The background image can be any file that measures 1280 pixels in width and 1440 pixels in height (double the height of the display which is fixed at 1280 x 720). This image gets loaded in, converted to four channels, and stored in it’s own vector for later use. Next is the hero ship, this image file can be any subject shot against a green screen and measuring 1280 x 720. This file is read in and run through the function that creates an alpha mask to remove the green screen. Following that is the villain ship, again any image 1280 x 720 that was shot against a green screen will work. Just like the hero ship, we load the image and create an alpha mask. Finally, the user has the option to choose whether or not to write the images out by simply entering in a filename base or just view the animation by entering “0”. If the user chooses to use the pre-loaded images, then we use the ones below.
left: background image, Tatooinne, 1280 x 1440, top right: lego corellian corvette 1280 x 720 , bottom right: lego star destroyer, 1280 x 720
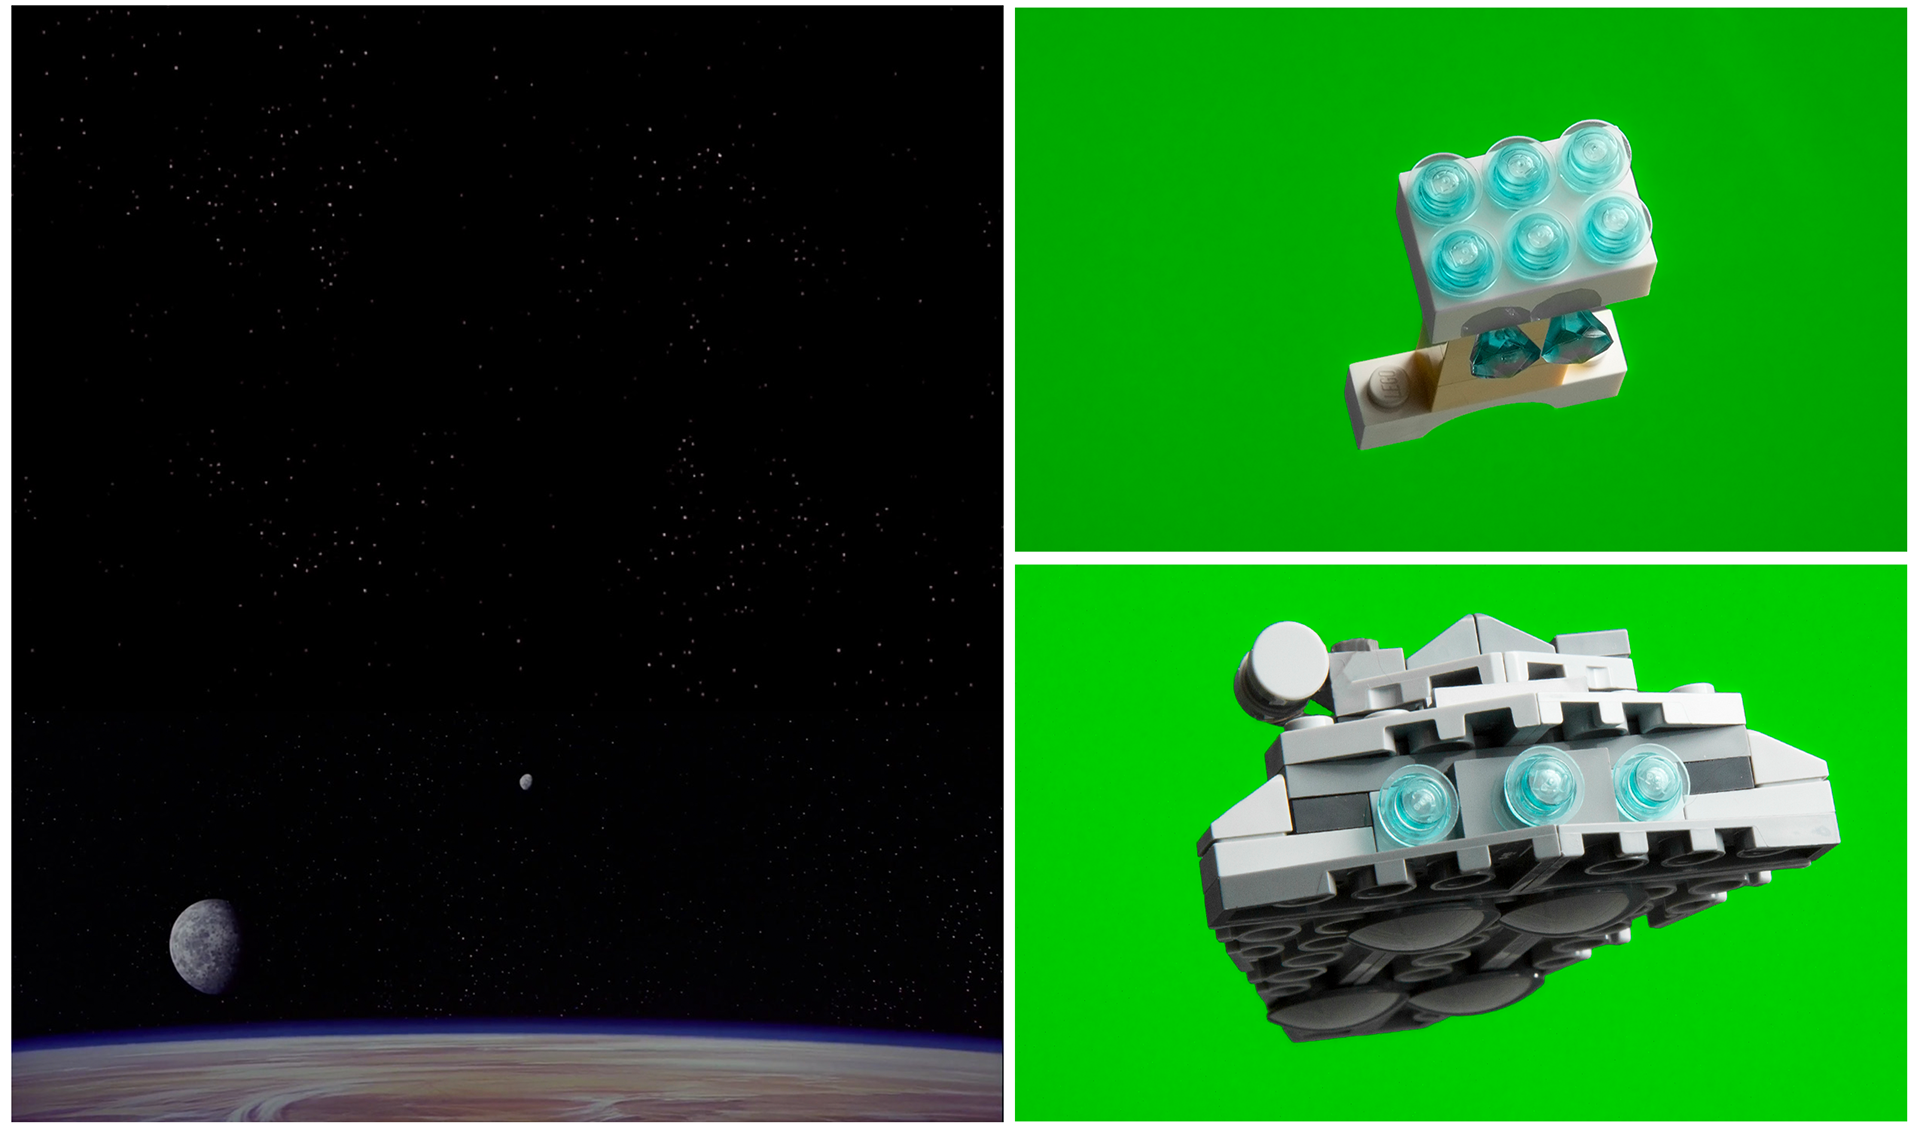
To create the above images, my 5-year-old and I combed through a vast assortment of Legos and were able to manufacture two items that closely resembled the ships from the film. I then photographed them against a green screen and cropped them to fit the needed aspect ratio. If I was to continue working on this program, I would extend it to accept images of any size, and then scale them to fit as needed. Okay so we have our images, either the ones that the user has input or the default images that were pre-loaded, so now it’s time to start the animation. The first step is the initial pan down. The panDown() function is called which simply reads the background image in to the display one scan line at a time. The for loop repeats until we have read the image all the way from top to bottom, one frame at a time. Next we setShips(), which positions the hero and villain ships outside the display to the top right. This offset is to a fixed position, if I were to continue to evolve this program I would instead make it a percentage based on the original image size after the alpha mask has been established.
After the ships (which again could be anything...not necessarily ships) have been moved to their starting position, the warping matrix is reset and we begin the process of moving the images down and across the background plane, as well as scaling them down to imply movement away from the camera, to recreate the shot from Star Wars. This transition is hard coded in based on the known image size, but I certainly acknowledge that making it percentage driven from the initial image size would be a better way to go. As the “ships” move in to the frame, we start compositing our images together. This was the biggest challenge I faced on this assignment. I had already constructed an image compositor, but it was crafted to composite only images of the same dimensions. Initially, our top images are larger than our base image, so that required additional if statements and variables to ensure that the scan line being read into the display didn’t continue to accrue information after it was outside of the field of view. Conversely, we encounter another issue when we start scaling our top images, because eventually they end up smaller than the background, so we have to build a switch that will flip to indicate this change and adjust the scan line read accordingly.

Well we’ve got our switches in place so lets go ahead and perform our transformations, produce our animation, and (if given a base file name) export these images out. Using the default images will recreate the original film shot (with Lego ships of course, just like the image above). To view the result, just click play on the video below!
So perhaps you’re more of a Simpson’s fan. That’s cool, you can re-imagine Homer’s quest for the forbidden doughnut instead...well that’s what I did anyway to prove that the code will work with any set of images.